Motion Design - “Stay With Me” 2
This is a continuation of my “Stay With Me” motion design project, focused on the initial 3D visualization and modeling stages of the pipeline.
After getting the composition fully timed and animated in After Effects, I wanted to bring the idea into Unreal Engine with simple temporary static meshes. As much as I can try to account for perspective and depth relations in a 2D flat drawing, bringing the idea to 3D will reveal parts that feel empty or poorly placed when prepped for the final render angle.
It is important in the previsualization and layout stage to find the proper amount of time to invest. Too little, and the meshes won’t give a good idea of the composition, while also failing to be updatable as final assets are created. Too much time, and you’ll often have to throw out work you’ve done anyway when it comes time to bring in the refined models.
For instance, my umbrella is just a couple cylinders and a cone. It's roughly at the scale I want, and fills the same space. It is properly set up as a blueprint actor so replacing it with the final import rig won’t be as time consuming down the line.
Initial blocking screen grab
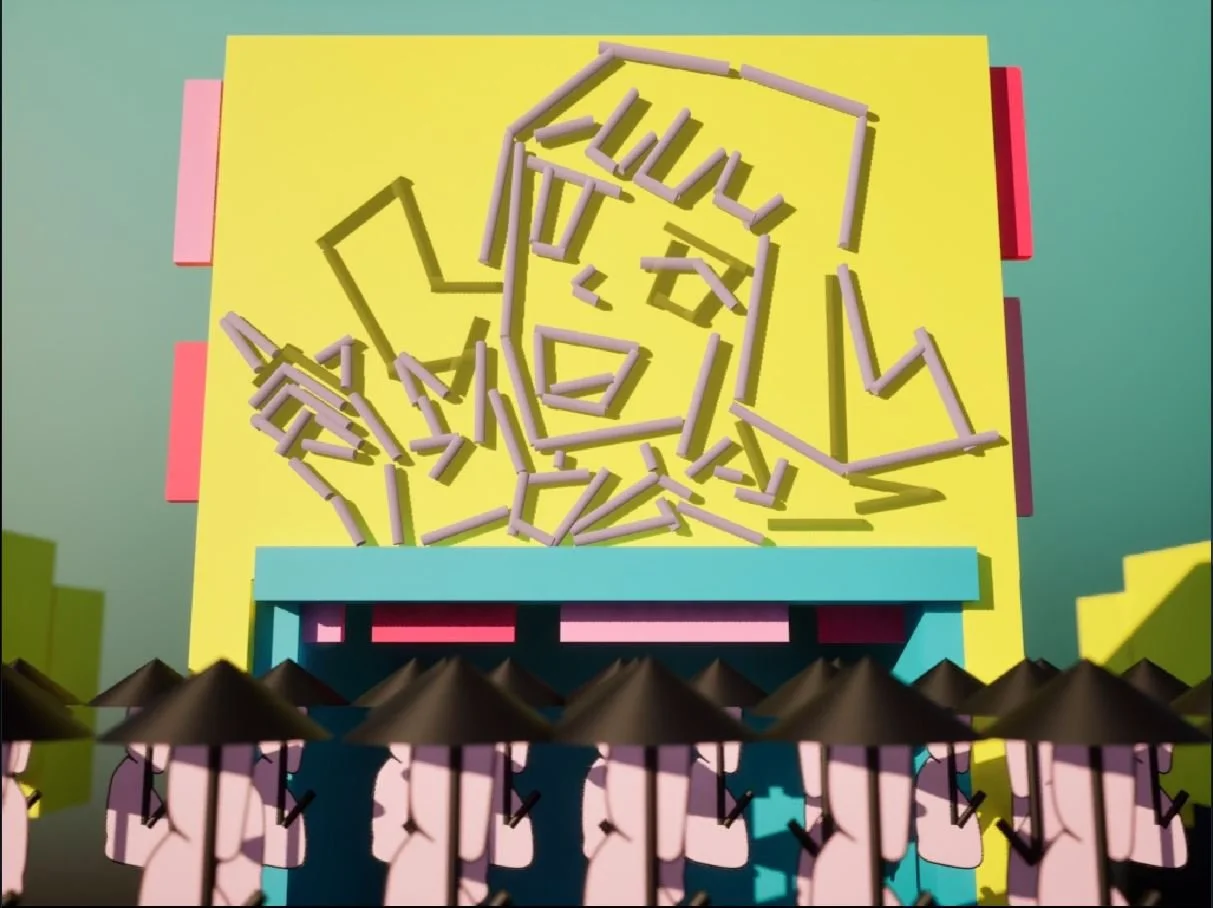
Now that the scene was feeling pretty good, it was time to actually start getting some final models together. The top priority was the people with their umbrellas first, and then the neon sign building. Everything else, like background elements, would be developed more depending on how much time would remain in the project.
Umbrella Person

The umbrella was going to be the only asset that truly needed to be rigged, so I wanted to start with it in case any hiccups came up. It is based on a typical manual retracting style. The people in the scene will be able to grab the ring mechanism of the ribs to pull it down and collapse the umbrella to the beat of the music. As with most of my hard-surface modeling, I took this to Houdini. I find it efficient to model objects with some underlying symmetry (radial, in this case), and Houdini is really nice for its non-destructive workflow that lets you undo surface operations out of order. In terms of rigging, the canopy would be the only part where the topology and edge flow was essential to get correct.
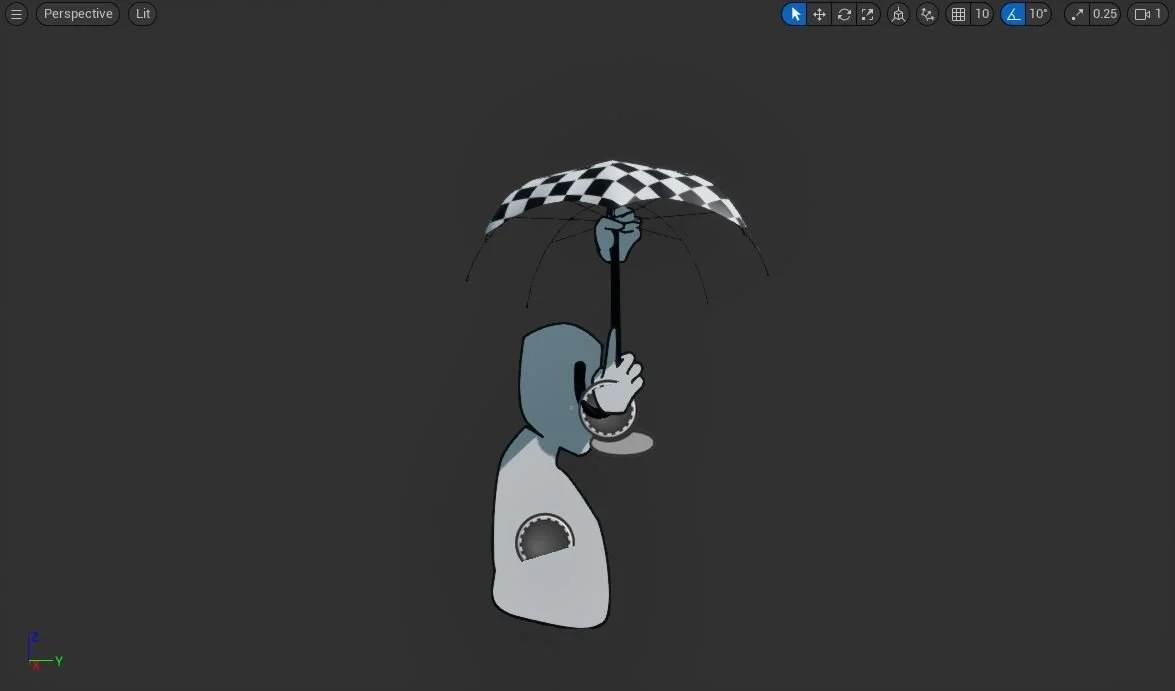
Umbrella Person
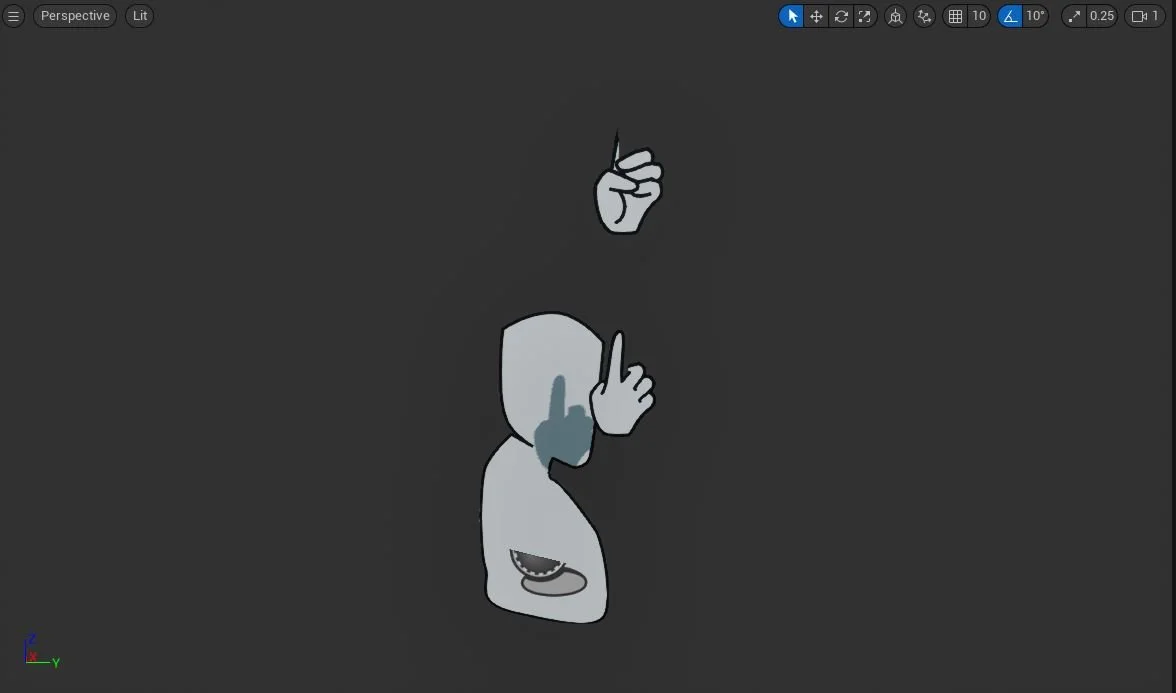
Umbrella Person, no umbrella. Fingers are drawn just to the handle so that they appear to wrap around the 3D object.
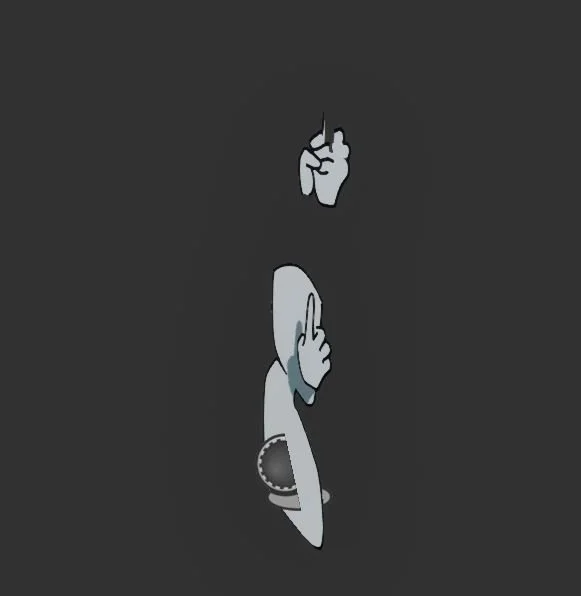
Side view shows separation of planes on the top hand.
Since I knew I was on a short timeline, I wanted to experiment with using 2D planes to create animation in 3D space. I envisioned all of the people passing by to be identical, to reflect the idea of the everyman going to and from work. The person I drew for the Illustrator mockup was originally meant to be just a temporary placeholder, but I found the design to work well when brought to 3D. So for this phase the real work was making hands for the person to hold and retract the umbrella, while making it believable that this 2D character would be interacting with a 3D object.
The bottom hand was designed so that even though it exists only on the front of the umbrella it gives the impression that it wraps behind it as well. The top hand is actually two planes sandwiching the umbrella to make it look like the handle goes right through the palm. The model will never be viewed from the side, so the illusion is unbroken.
Building
For the main building I knew this would be another job for Houdini. I hadn’t really settled on a shop theme in the concept stage, but I was attracted to the idea of a produce stand. A lot of fruit have iconic and simple shapes that could be identified even though I was working with a strict color palette. When it came to texturing the umbrellas, I would also be able to use patterns like a watermelon or strawberry to tie the two elements together. This led to the unexpected opportunity to create an rigid body bullet HDA to quickly populate the scene with many individual meshes.
The asset includes about 70 containers of food, each populated procedurally by running a dynamic simulation with the fruit or vegetable used as an input.
I took four foods, oranges, apples, bananas, and daikon and made these my inputs for my HDA. The produce would then be scattered on points and dropped into a basket or box for an organic looking dispersion of food. The HDA has various settings for changing length of the simulation, amount of dropped items, and shape of the container. IMPORTANT TO NOTE: If you ever intend to have a simulation for static modeling, add a file caching node so that it doesn’t rebake your entire scene when you reopen it. Whoops!
For the neon sign, the Bezier curve tool allowed me to get clean paths in 3D. They are separated into three groups, so that the material slots will be easy to animate in UE5.
Japanese fonts can be downloaded from Google Fonts. These are compatible in Houdini, and allow the creation of Hiragana, Katakana, and Kanji. The signs are another HDA that scale according to the amount of characters present. Since Japanese characters traditionally are drawn to each occupy an individual square, it makes expanding the sign shape simple.
The rest of the building is basic hard surface modeling using Houdini SOPs.
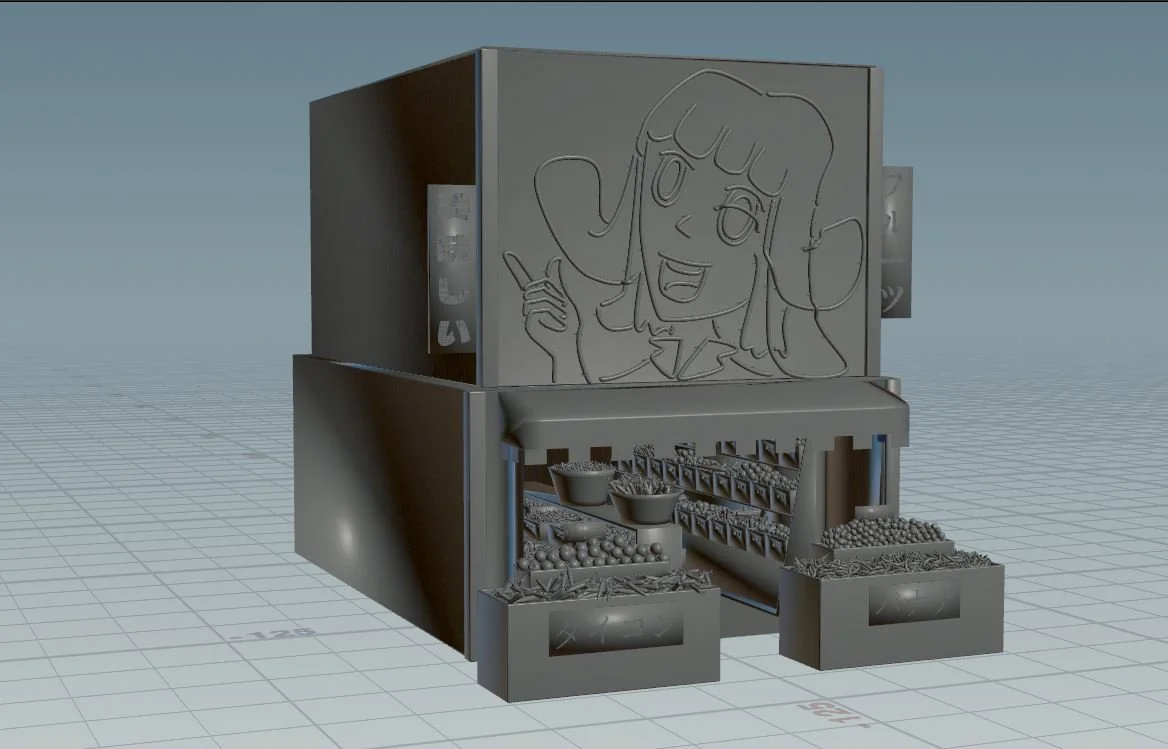
Grey model fruit stand
For the next week, I will be focusing on importing this all cleanly to the engine, and beginning the texturing process!