Environment - Walnut Tree 1
Welcome to the first part of my current environment art project! For a combat scenario I’ve been tooling around with in UE5, I thought it would be nice to start fleshing out the level to get some of the images out of my head and onto the screen. This is also a perfect opportunity for me to flex my Houdini muscles and create something fully procedural to avoid obvious likeness between instances in a forest. For this first part I’ll be breaking down my process of creating leaves, in this case pinnates for a walnut tree.
First, as always, a little reference gathering and a little research.

Walnut trees have a pinnate leaf structure with an odd or even amount of leaves, depending on species. They also have an incredibly vibrant color transition, from a light green to an orange-red. As I looked into all of this I thought it would be cool to incorporate seasonal transition in the texturing and shading, since the color of the leaves is so iconic to the tree itself. The pinnates would also expand the scope of this project from a single leaf per card, to likely multiple leaf pieces baked to make a single pinnate. If I were to just sculpt the pinnate and copy it to every tree, while it may look good from a distance, it would stymie the potential up close, or if I wanted to reuse these cards for pinnates that fall to the ground in the autumn season. It would take a little extra work on the front end, but would allow for more freedom for set dressing later on.
MODELING
Since I was going to be making the pinnates procedurally customizable anyway, I thought it would be nice to give myself several variations of leaves that could randomly populate the final stem. I chose to make the initial leaves as 3D models in ZBrush instead of just painting them in 2D, because it would lend itself better in Substance Painter to techniques involving Smart Materials and baking. I knew this was all baking down eventually to planes, so I didn’t worry about the polycount or edge flow as long as it didn’t destroy the silhouette of the leaves and stems.
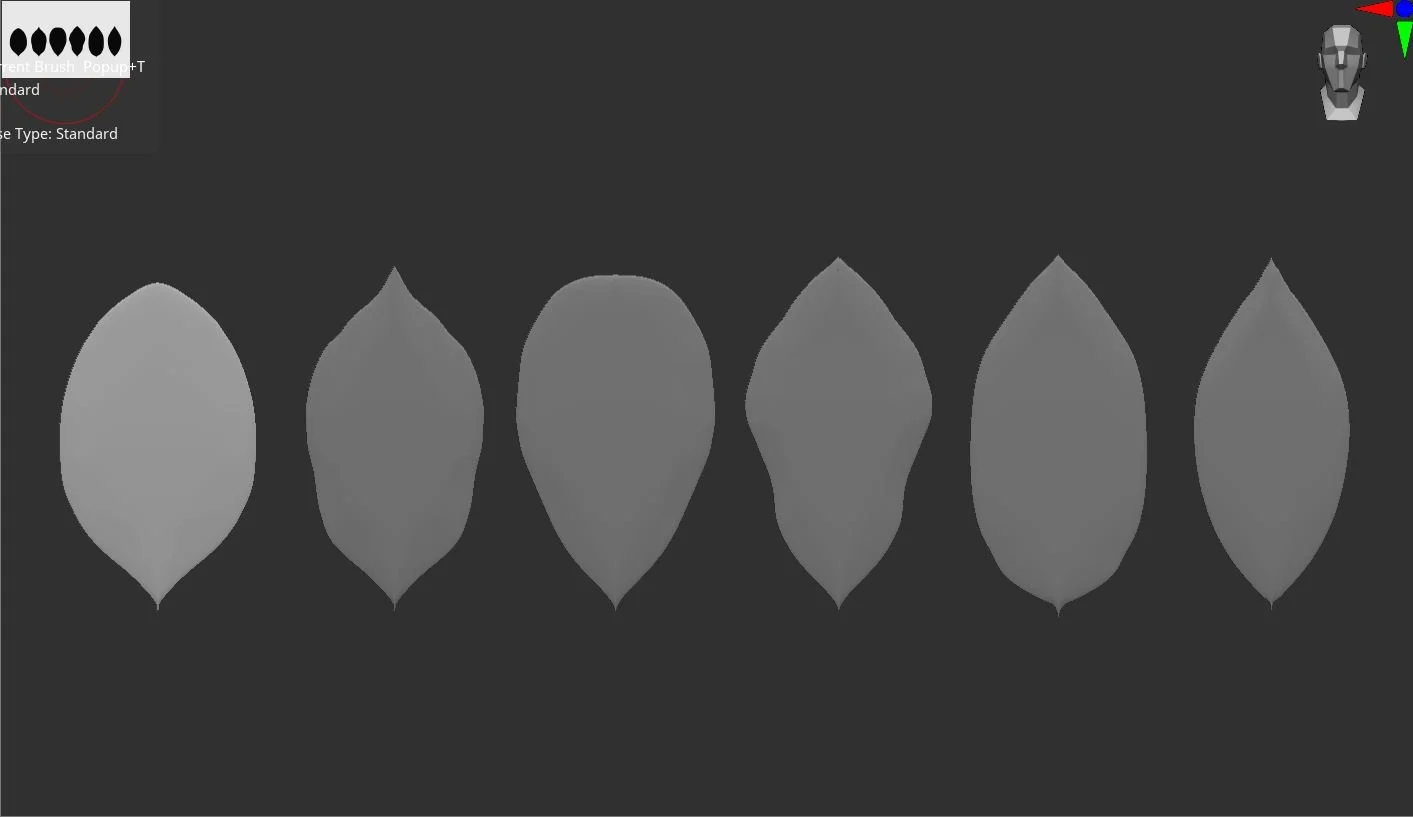
Hand sculpted variants to add more complexity than Houdini scale transforms, then retopology and unwrap in Maya.
TEXTURING
When moving to Substance Painter, I was hoping that similarity of shape and size of the leaves would make reusing the texture between each leaf a cinch. And it was! Besides some minor tweaks to the paths that were creating the veins, the smart material of the first leaf was able to apply nicely to the other leaves after baking. Making the autumn variation was quick work too, since it was mostly just a color swap.
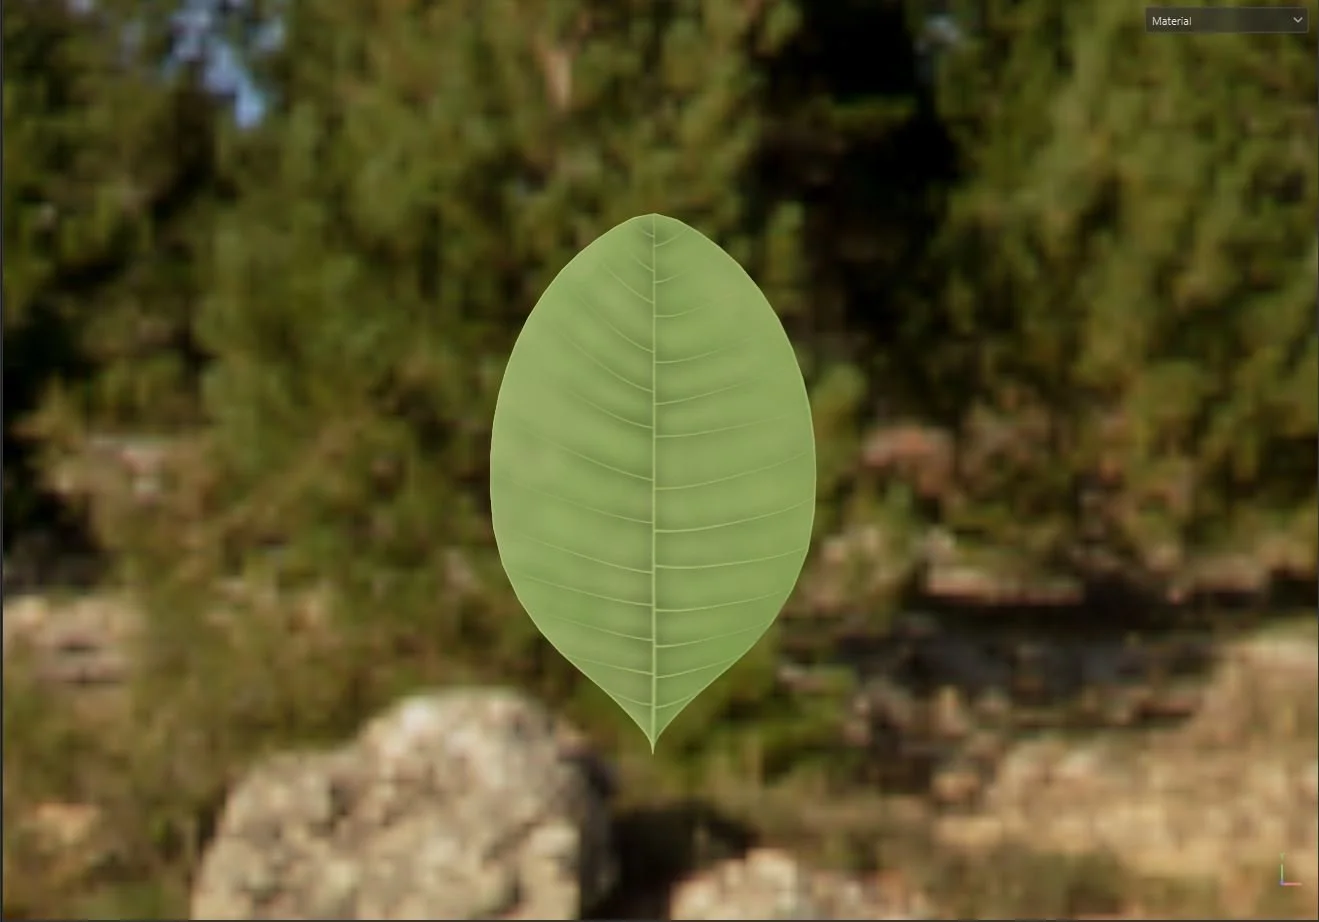
Smart material speeds up iterating between season and shape
Now that I had my textures for the 3D models, it was time to bake them down to 2D planes. In hindsight, this could have been done in Houdini but because I was only going to need to bake this down once, though I thought it was a good opportunity to mess with the Transfer Maps feature in Autodesk Maya. Because we’re just baking onto a 2D plane, there was no need to fuss around with the shell. One thing I’ll have to keep in mind is this tool does not support roughness baking, though if you’re baking something to be a 2D plane, it’s likely not going to be enough of a hero asset to warrant a roughness map anyway. That being said, I’d like to test this part of the process in Houdini and compare the results.
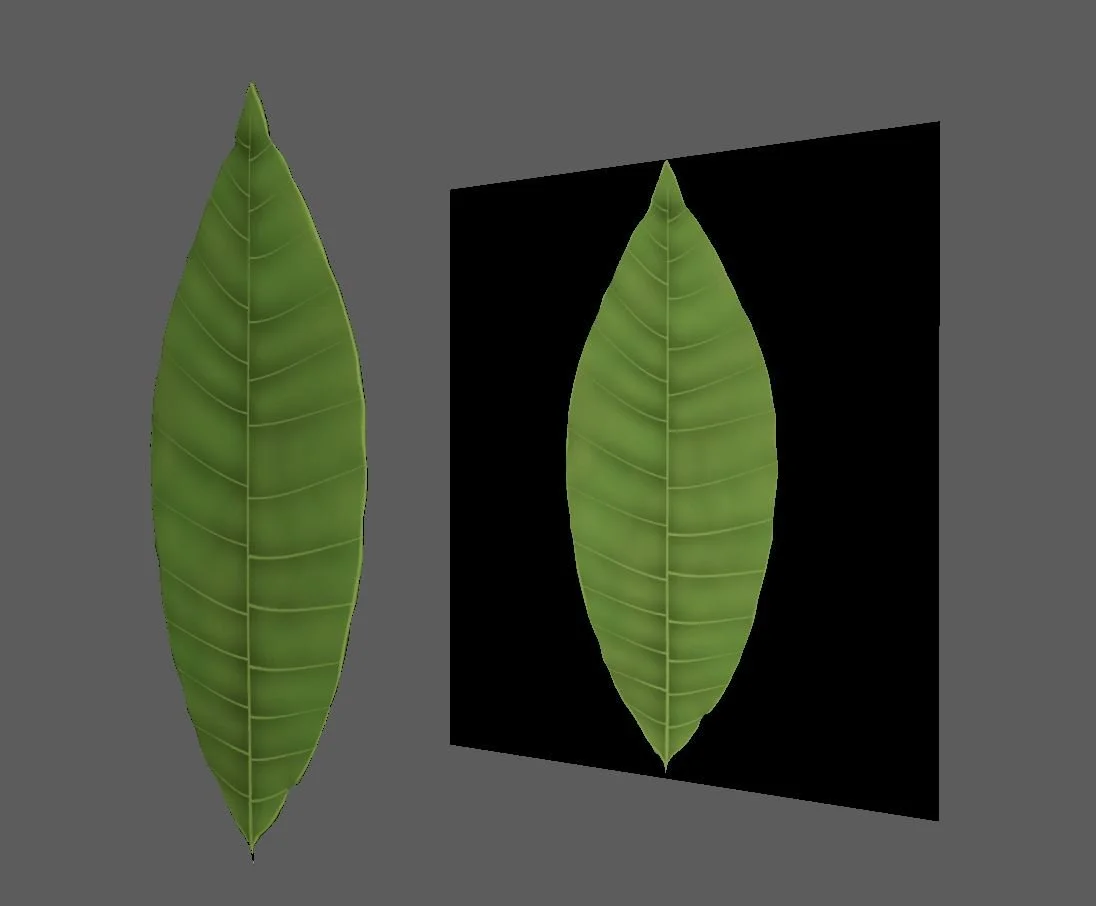
Result of baking down 3D sculpt to single plane
Now to get procedural! I wanted to give as much flexibility as possible for this aspect of the tree, since the foliage shape to me defines the tree’s personality. By taking a line, adjusting the point normals in the correct directions, and using some copy to points magic, Voila! A pinnate is produced! Of course, there’s many other little adjustments and VEX snippets working under the hood, but the general idea involves placing single poly planes onto point normals, and adjusting other parameters to give unique leaf shapes, offsets, size, and taper. Now that there’s a discombobulated collection of planes, baking this again onto a single plane will give us our final pinnate textures for UE5, both summer and fall.

Example pinnate before final bake
So now for UE5. Polycount is always the question when it comes to making greenery in a video game. Perusing various blogposts and discussions online brought up the frequent debate between polycount vs overdraw and their hits on performance. People generally condemn overdraw, and suggest the extra polycount is a worthy sacrifice to cut out the alpha dead zones. Like all parts of this project, I wanted to leave that decision to the user of the tool. Therefore, each pinnates final card can either be its original single poly, or any variation of edge loops for culling dead space, or allowing for a little bend to add some gravity.

Can generate user defined amount of vertex variations to scatter onto tree and break up the silhouette
Now for some final shader tricks to add that wow factor. At this stage, I am focused on adding implied wind movement through pixel and vertex position. I will be working on the autumnal change when I have the full tree to test different transition methods.
For individual leaf randomness, I employ an RGB map that I create and bake by assigning random primary color values to leaves with a Houdini attribute. Depending on if the leaf mask is red, green, or blue will effect what speed the leaf and leaf normal is moved. For the pinnate’s movement, this is mainly driven by the UE5 node RotateAboutAxis, allowing rotation from the base of the mesh. When applied to a full tree, the “wind” intensity increases as the leaves are higher and the branches are thinner.

Example of texture coordinate offset mask described above (map is stretched to compensate for removal of 0 opacity space on final mesh)
Shader applied to single pinnate mesh in Unreal Engine 5
Some other ideas I may explore include backface transparency, more complex normal vector variation, and of course the summer to fall color transition. For now, this is at a good spot to move on to the rest of the tree!